the tire
It appears that the groove they have in the SuperFlux is not as deep as it is in the Hypercore, so getting the lip of the tire over the rim is much harder, and despite my oversized MTB tire levers I wasn’t able to remove a Vega tire. In fact, I felt that the levers were close to braking… luckily you guys will receive the hub without a tire on it so you should have no problem putting on the tire of your choice
So: there is a tire-change-groove but it’s not as deep as the one in the Hypercore
I had to use destructive methods to remove the Vega… The Enduro went on really easily, and it comes off easily too
motor connection
The SuperFlux came with bullet connectors on 12AWG wire and a JST connector - perfect for connecting to any VESC. However, it meant connecting it to any of my existing controller boxes was impossible. And I made the mistake to not immediately solder on Molex / SwitchCraft connectors to the SuperFlux. Instead I slightly shortened the phase wires and soldered on new bullet connectors.
Also I wasn’t able to reuse one of my existing, tried and tested controller boxes.
Edit: Attaching the Molex connector was a major PITA but it’s done!
motor detection
Motor detection worked out of the box with the original LFOCv3.0 from my VESC+
first impressions
The SuperFlux motor runs as smooth as a Hypercore, maybe even a bit quieter, maybe because of the better bearings. Riding it in the garage and in the courtyard felt exactly like riding a Hypercore, using the same settings that I used with my Hypercore.
Sensorless transition is VERY SMOOTH. So far I haven’t been able to get a “crunch” when braking hard.
speed/kv test
The freespin speed of the Superflux is 18 percent faster than the Hypercore at the same voltage (35mph at 74V / 18s).
torque test
The motor does appear to have more torque, it can handle much higher amps than the Hypercore without hitting stator saturation. This can be seen when slow-crawling over 1 inch or higher ledges. With the hypercore the nose will dip significantly before eventually climbing up, whereas the SuperFlux barely budges (I got video of that)
real-world riding tests / MOSFET overheating
Some extra heat is caused because the SuperFlux with its higher kv requires higher motor currents. The same hill requires ~40A continuous instead of ~30A continous (motor amps). HOWEVER, this should only lead to a minor increase in MOSFET temps.
To be clear: both motors require the same power to get up that hill. The battery amps are virtually the same, it’s just the motor amps that are higher.
Motor temperatures
My side-by-side comparisons showed a far superior heat performance of the SuperFlux. Despite the higher motor amps (40A vs 30A) the SuperFlux only heated up by 5C on that 3/4 mile while the Hypercore heated up by 10C on that same section riding up at about the same speed.
I don’t know if it’s solely due to the Statorade or if there’s other design decisions that have an impact - but the thermal performance of the SuperFlux is VERY IMPRESSIVE!!
On trails I have so far not been able to overheat the motor, and the MOSFETs tend to heat up quicker than the motor, so MOSFETs are still the bottleneck despite an extra 3mm alu sheet on top of the lid
Other things I noticed:
the motor feels heavier making the onewheel noticeably heavier (when carrying it, not when riding). The new motor is about 5 pounds heavier!
Great post, thank you for all the testing and exploring.
I’ve started printing the Funwheel boxes, and see that the front box has holes to snake the motor cable through with the gland, so I’m assuming that if one was just building out a full kit, it’d have enough length to reach?
The Funwheel box also looks like it’s got enough space to have a FOCer sit in it with a full heat sink of its own, so that may be a positive thing to help with the increased FET temps.
This is really exciting to read about, can’t wait for this to progress.
The review is taking longer than planned because things didn't work out as I had hoped...
the tire
My SuperFlux came with a Vega tire installed, which I failed to remove. I’ve removed two Vegas from Hypercores before so I didn’t think it would be too big of a challenge, but it appears that the groove they have in the SuperFlux is not as deep as it is in the Hypercore, so getting the lip of the tire over the rim was much harder, and despite my oversized MTB tire levers I wasn’t able to get the job done. In fact, I felt that the levers were close to braking… luckily you guys will receive the hub without a tire on it so you should have no problem putting on the tire of your choice
So: there is a tire-change-groove but it’s not as deep as the one in the Hypercore
I had to use destructive methods to remove the Vega… The Enduro went on really easily, and it comes off easily too
motor connection
The SuperFlux came with bullet connectors on 12AWG wire and a JST connector - perfect for connecting to any VESC. However, it meant connecting it to any of my existing controller boxes was impossible. And I made the mistake to not immediately solder on Molex / SwitchCraft connectors to the SuperFlux. Instead I slightly shortened the phase wires and soldered on new bullet connectors.
Also I wasn’t able to reuse one of my existing, tried and tested controller boxes.
Edit: Attaching the Molex connector was a major PITA but it’s done!
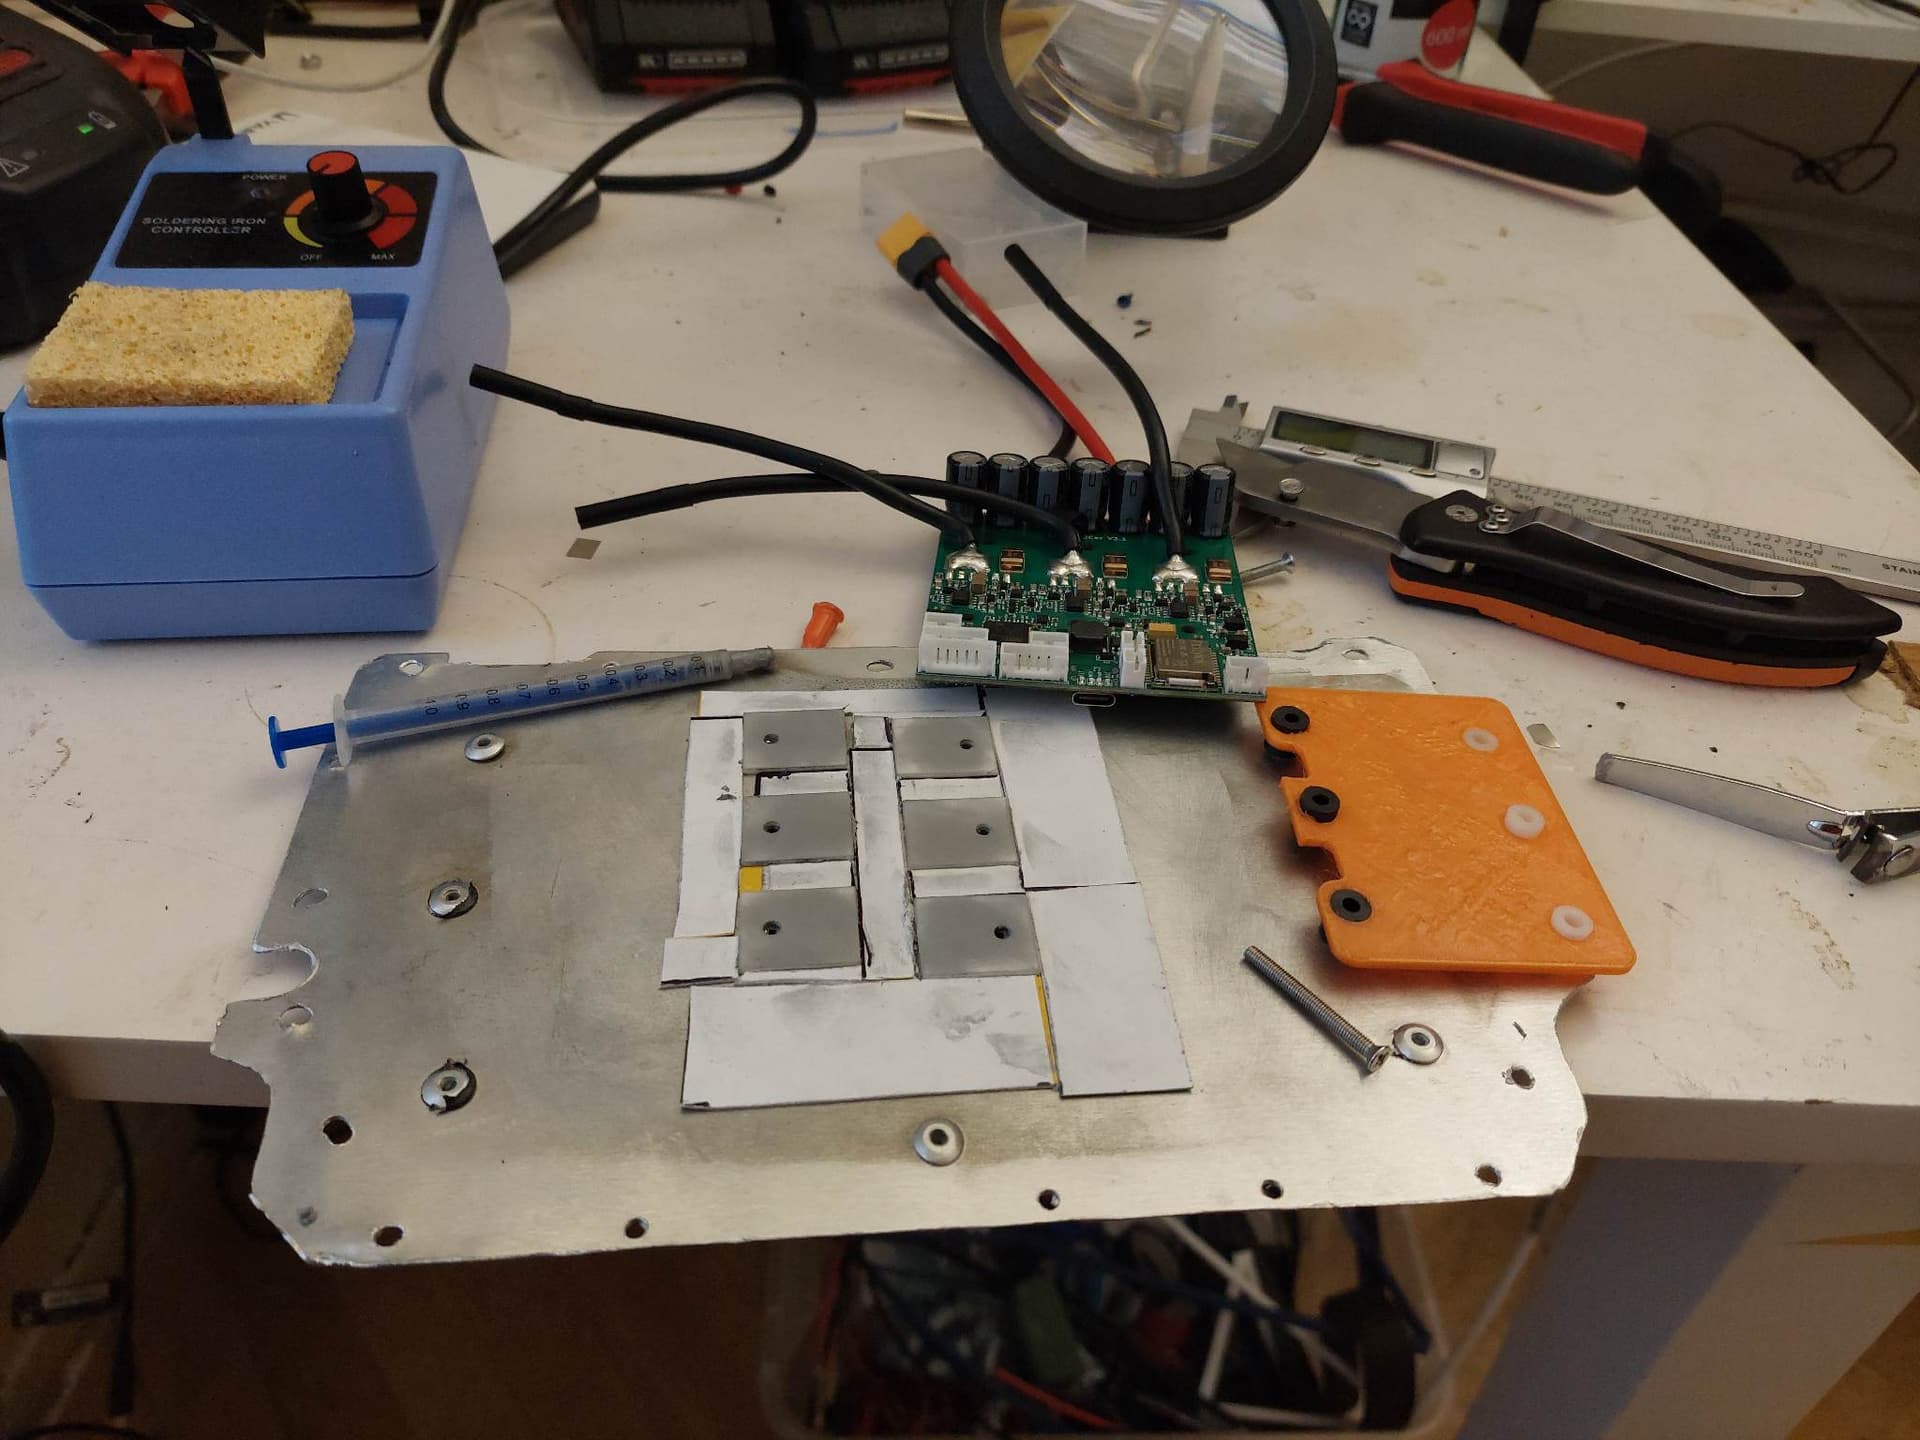
the controller
I put together a fresh LFOCv3.0 in a Flowglider box from MakersPEV, as well as Aluminum lid and screws, also from Makerspev.
Putting together the controller box took 2 full days because I fucked up the Switchcraft footpad connector that I desoldered from a Plus controller. The pins melted the plastic and moved by 1-2mm so that they didn’t make contact with the footpad connector, which took me forever to diagnose… That caused an initial 2-day delay…
Edit: now I’m back to the first controller I’ve been using on my OneWheel+ (the WTF board) since Feb’22
the battery
I had an 18s2p battery (Molicel P26a, DIY) but my battery box (the V57 STL file printed on my Ender 3 in PLA) which worked perfectly for me for 6 months, had multiple cracks and wasn’t safe to reuse. So I switched to a stock XR battery box that worked great for my 18s2p pack, including the same top/bottom padding that FM uses!
motor detection
The VESC tool failed to detect my motor. It reported errors in the wizard, and in FOC-General manual configuration it reported 0 inductance. Fungineers was more lucky with his motor detection after several attempts, and I was able to just punch in his motor values into my tool and the motor started working smoothly
Edit: Motor detection now worked out of the box with the original LFOCv3.0 from VESC+
first impressions
The SuperFlux motor runs as smooth as a Hypercore, maybe even a bit quieter, maybe because of the better bearings. Riding it in the garage and in the courtyard felt exactly like riding a Hypercore, using the same settings that I used with my Hypercore.
Sensorless transition is VERY SMOOTH. So far I haven’t been able to get a “crunch” when braking hard.
speed/kv test
The freespin speed of the Superflux is 18 percent faster than the Hypercore at the same voltage (35mph at 74V / 18s). OBSOLETE: Fungineers does intend to lower the kv of the final motor (yes, even the ones in the first batch), so don’t expect that kind of speed on your SuperFlux!!! EDIT: Fungineers decided to keep the kv pretty much as is on the production models, so you guys will all get the same top speed I do!!!
torque test
The motor does appear to have more torque, it can handle much higher amps than the Hypercore without hitting stator saturation. This can be seen when slow-crawling over 1 inch or higher ledges. With the hypercore the nose will dip significantly before eventually climbing up, whereas the SuperFlux barely budges (I got video of that)
real-world riding tests / MOSFET overheating
I live in a very hilly area so it’s hard for me to find flat roads. My first test run is a 1 mile 10% grade which I ride up regularly on all of my Onewheels. This is where my problems started. My LFOC overheated before I got to the top of the hill. I added 2mm of sheetmetal on top of the metal lid hoping to increase the mass of the “heat sink” but it made nearly no difference at all. After 3/4 of a mile I would hit 70C controller temp… I even took off the plastic rail guards from my WTF rails, still same problem
Why is the controller overheating?
UPDATE, Sep-10: It was indeed a bad enclosure assembly. For some reason the LFOC wasn’t level in the enclosure so that half the mosfets didn’t get pressed against the thermal pads/heat sink.
Some extra heat is caused because the SuperFlux with its higher kv requires higher motor currents. The same hill requires ~40A continuous instead of ~30A continous (motor amps). HOWEVER, this should only lead to a minor increase in MOSFET temps.
To be clear: both motors require the same power to get up that hill. The battery amps are virtually the same, it’s just the motor amps that are higher.
Motor temperatures
Even though I couldn’t get close to stress-testing the motor, my side-by-side comparisons showed a far superior heat performance of the SuperFlux. Despite the higher motor amps (40A vs 30A) the SuperFlux only heated up by 5C on that 3/4 mile while the Hypercore heated up by 10C on that same section riding up at about the same speed.
I don’t know if it’s solely due to the Statorade or if there’s other design decisions that have an impact - but the thermal performance of the SuperFlux is VERY IMPRESSIVE!!
Motor thermistor
After 3 days of use I’ve started getting bad motor temperature readings - not sure yet if the problem is in the VESC or the wiring or inside the hub. This needs to get fixed before I can do my intended thermal stress tests of the motor
Other things I noticed:
the motor feels heavier making the onewheel noticeably heavier (when carrying it, not when riding). It feels like there’s at least an extra 2lbs / 1kg in that motor (the extra power has to come from somewhere!)
What next?
I’ve ordered Molex/Switchcraft connectors so I can test out my other controllers, just in case my new controller is a lemon.
I’ve ordered a 3mm aluminum sheet from SendCutSend as well as Thermal paste in order to improve the heat dissipation of the LFOC. This will more than double the thermal mass of the LFOC heatsink and I will try to improve heat transfer to the rails using thermal paste.
I’m ordering new thermistors just in case I need to replace them in the motor. Here’s the upside: I’ll be opening up the hub and will be posting stator pics / measurements
Thanks for sharing. It sounds like attaching the focer to the heat sink with press fit studs is a more reliable solution. Resting the unit on thermoplastic might lead to failure when pushing the temperature limits like you are.
I’ve been working on a way to weather proof the bullet connectors with o-rings and 3D prints but I don’t have a way for the JST. Switchcraft does seem like the best solution despite the size.
It would carry more current across the two pins, so they dont melt at 100 plus motor amps. Or you can do away with that connector because it’s not needed and just use a cable gland with heat shrink over the bullet connector.
0.5mm pads with high thermal conductivity ~12W/mK or higher - I’ve seen as high as 20W, just make sure it’s a reputable brand, not some no-name thing claiming outlandish numbers
That’s super cool. Did not know these washers exist. Thanks for sharing.
Running the numbers because I am curious how much they help. They are listed a 25 W/mK and 1.5mm thick for a conduction coefficient of 0.0375 W/K. Shaman recommended 1mm thermal pad in the past. The pads I buy are 14.8 W/mK, so 1 mm would be .015W/K, but since the pad is compressed I wonder what the actual thickness and thermal conductivity is once installed. 0.5mm would be more comparable to the washers at .03 W/K. Seems like a good upgrade to me.