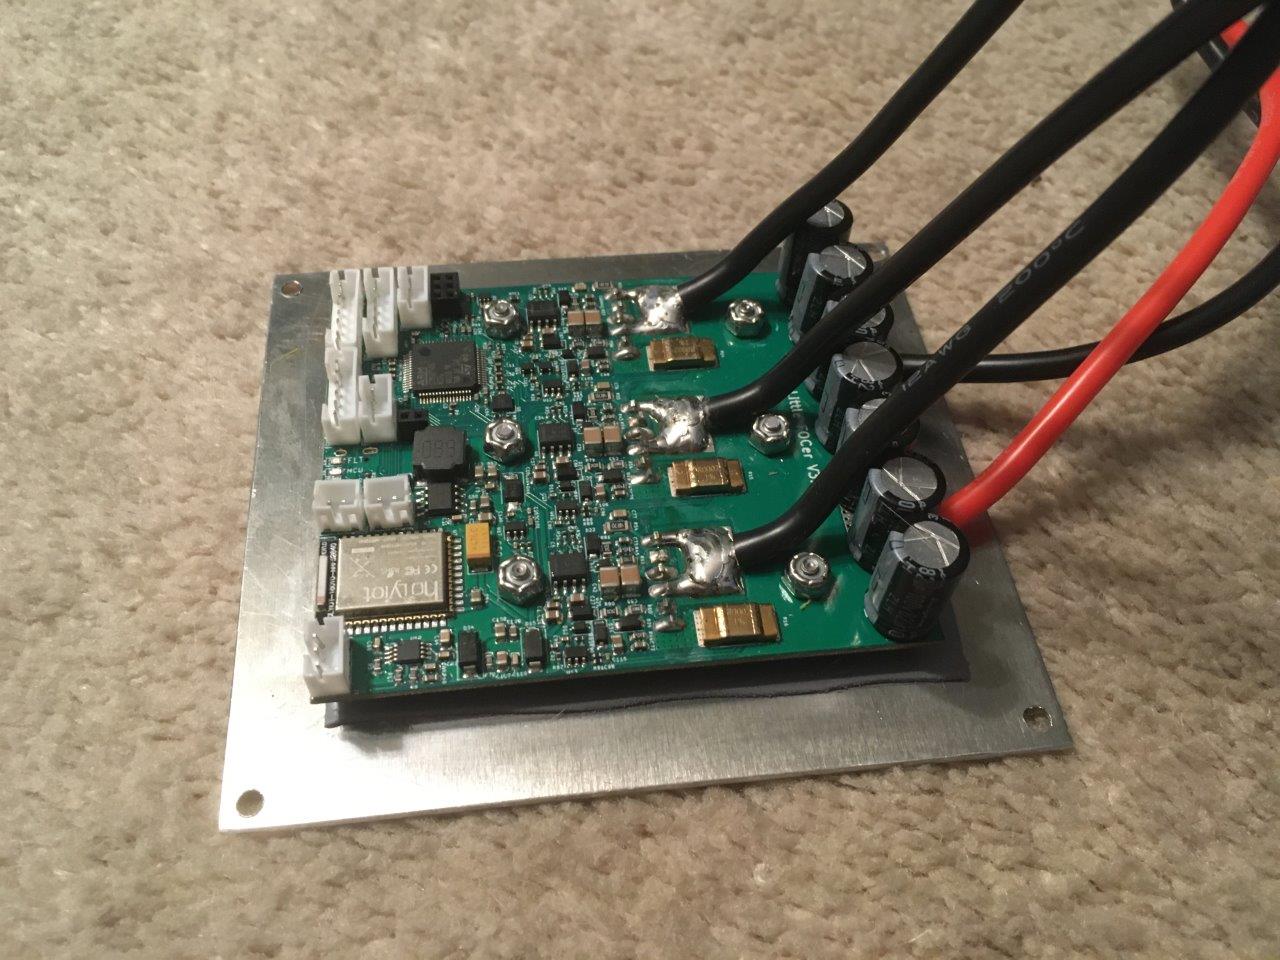
I damaged by little focer 3.1 installing a custom heat sink and I want to share what I learned for people that might want to make there own heat sink. Makers PEV support was hugely helpful in sorting this out for me.
Here is the heat sink with focer installed. 4-40, 1/2" long, 18-8 press fit studs and 4-40 nylon/18-8 lock nuts on 1/16" thick aluminum plate.
When I powered it up I got a very high FET temperature, 500-700C, and a high current offset fault. I installed the latest firmware and that had no effect so I resigned to take it apart to figure it out.
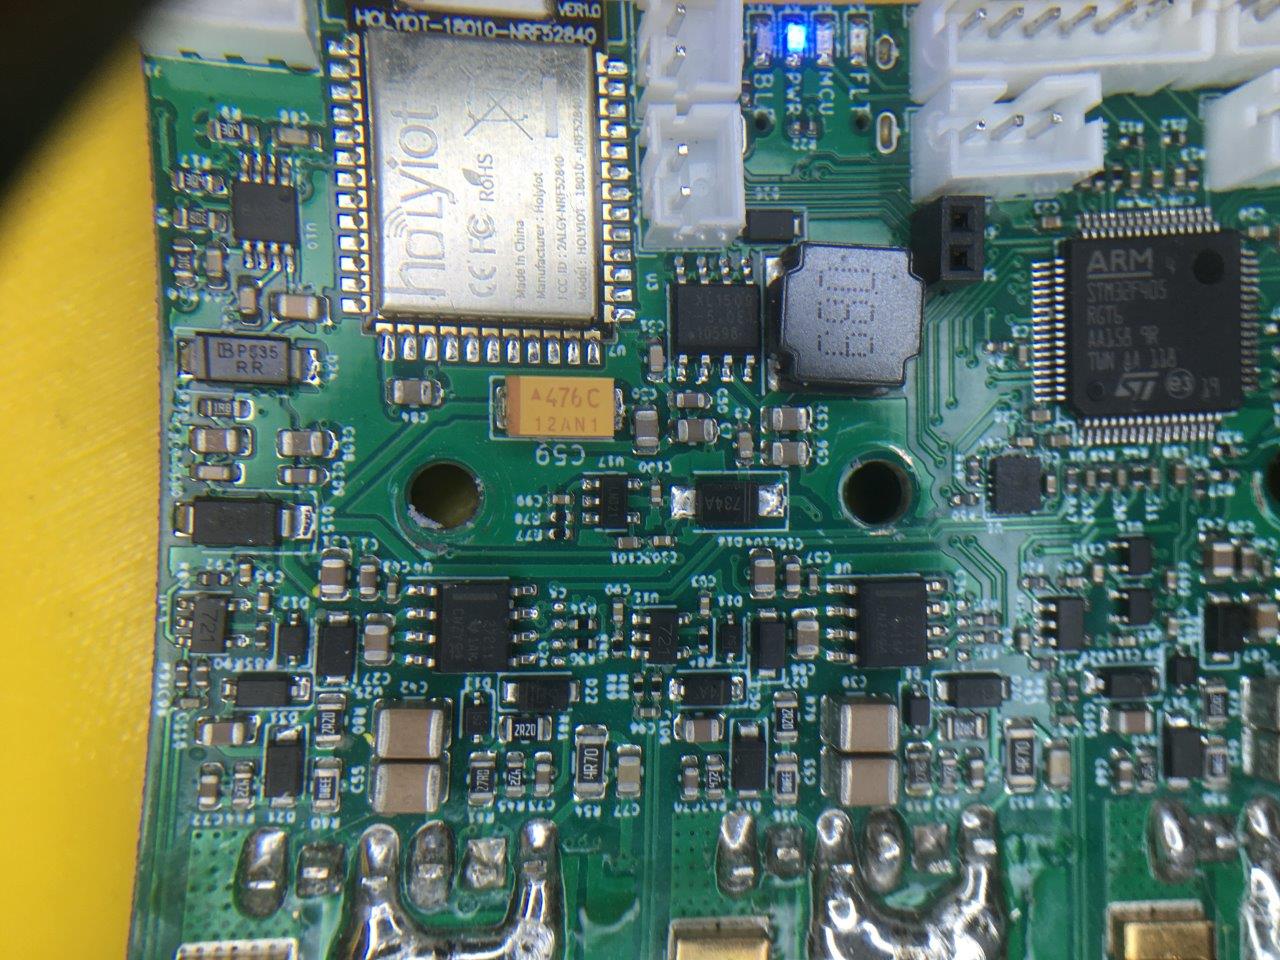
It turns out the nuts had damaged the surface of the board. I was not expecting that because the boards I have installed in the past have clearance around the mounting holes. Completely my fault though. I should have been more careful. This crossed some signals causing the high current offset fault. Powering up the unit off of the heat sink removed that fault, but the FET temperature was still high.
Makers PEV support pointed me to resistor R2 near NTC1. There was a broken solder connection on R2. I was able to get the temperature down to normal just poking it back into place. This solder connection was damaged by the outer edge of the nut driver I used to install the nuts.
So now I just have to repair this tiny solder connection. Much smaller than anything I have soldered in the past. Here are the bits I bought to do the repair. I got a practice board too. If you have experience soldering SMT stuff I appreciate any advice.
I’m not sure I would bother trying to take any solder off. Just put a dab of flux on the end of the resistor you need to reflow, choose a tip closest to the width of the pad you are soldering to, start at a low temp (310C or so) and then carefully set the tip so it is on the pad and also touching the resistor. When it flows, use your other hand to add a bit more solder to the joint. Don’t linger once you’ve finished.
As long as your hands are steady it should be pretty easy.
I was planning on using silicone washers to prevent contact from the nuts. Do you use spacers to prevent the bolts from contacting the ID of the holes? What size hardware? I haven’t seen another build that bolts, just flowglider boxes.
I used bolts on my very first XR build in February, just drilled into a regular lid - and no you don’t need to worry about the ID of the holes, just a plastic washer/spacer - I think I used 3mm spacers because I had them
you got lucky no magic smoke escaped.
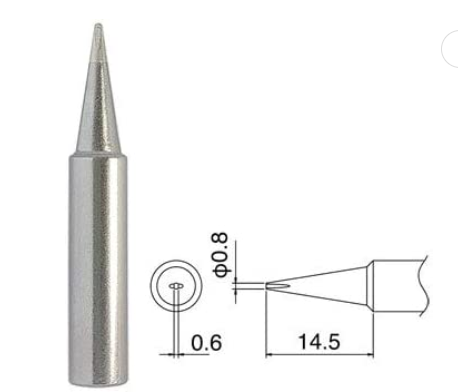
recommend soldering with at least 350C, I normally use 370C. hot tip allows you to heatup joint quickly.
apply little solder to wet your soldering tip then touch to part you want to solder, apply new solder, remove solder then remove soldering iron tip. should only take about 2 sec to complete.
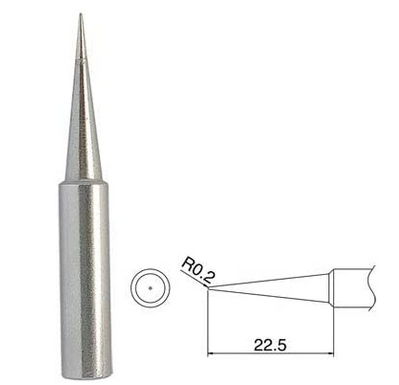
Follow up. I was able to successfully repair this. It was easier than I thought but it took some practice. I used the practice board I bought to get the tip to the right temperature. I started with this tip because I thought I should be using the finest one.
This worked but not well. I used it at 360C but heat transfer was bad. The joints I made held at first but after some cycling the fault came back. I switched to this tip, minding the advice of hackjealousy who said to use the tip with the closest width to the panel.
This melted the solder instantly so I backed the temperature off to 340C. Hit it with the flux pen, put the tip on, melted in 1-2 secs, held for another two secs, and good to go.
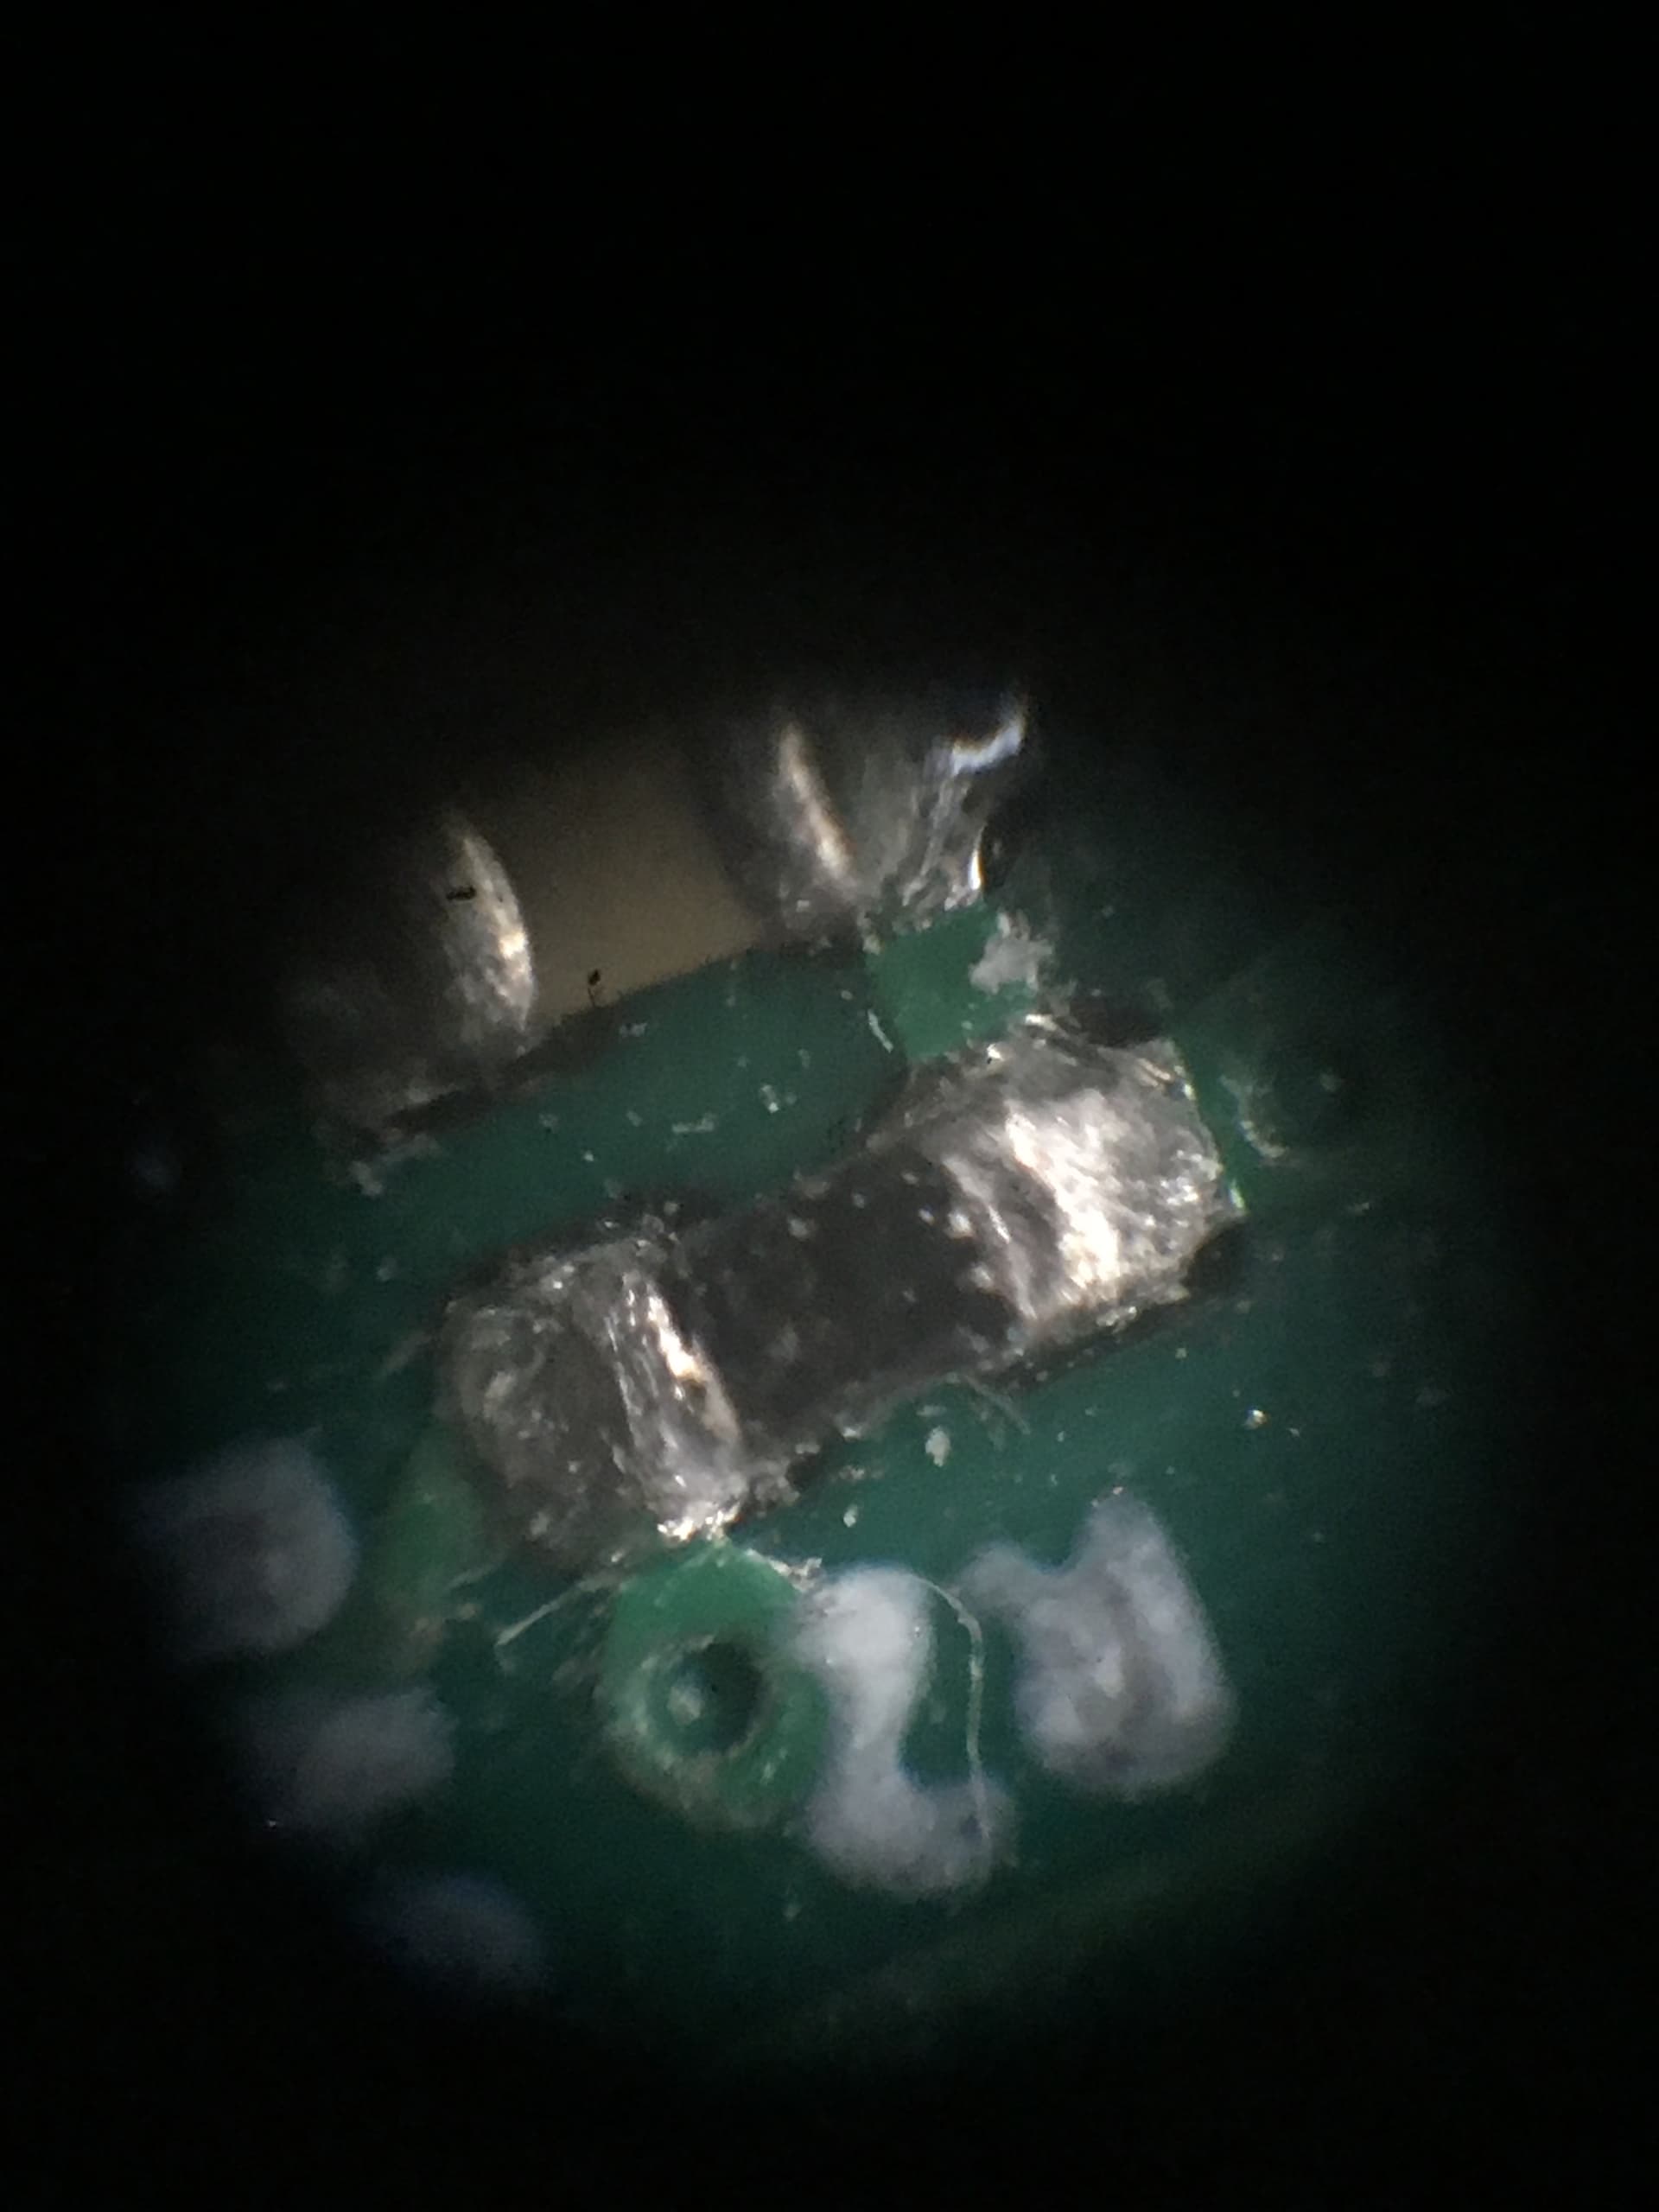
I used a microscope and took a couple pictures, not that you can really see much. Here is before, with the damaged joint on the left. It looks maybe chipped or smashed down a bit. Not much visual indication of the problem though.